
INSIGHTS
Facility Photography That Converts: A Practical Shot List for Rehabs
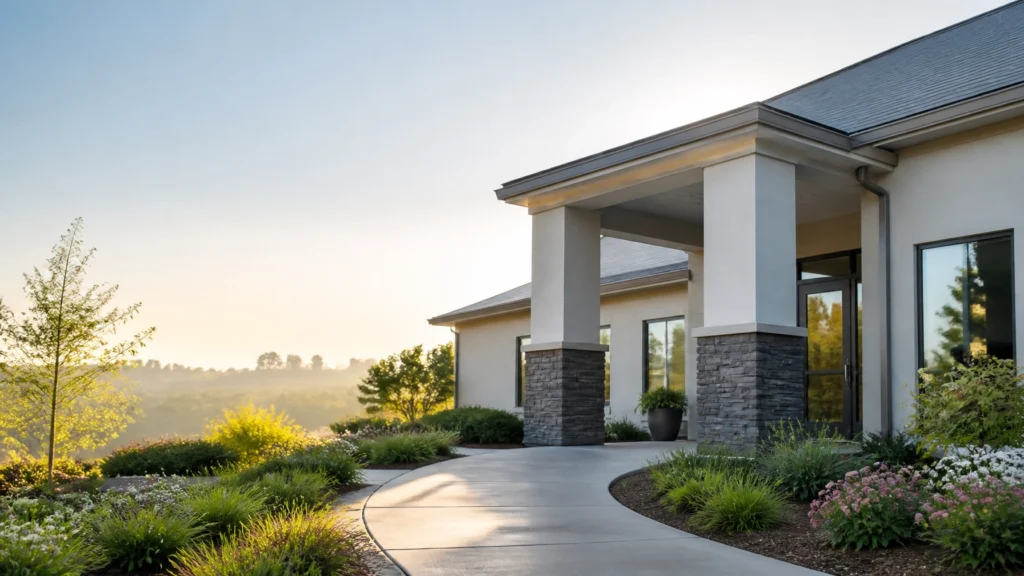
A prospective client or family member can make a decision about your treatment center before reading a single paragraph.
They see the entrance. The therapy rooms. The bedrooms. The people on your team. Or, if your website relies on generic stock photography, they see an image that could belong to almost any facility in the country.
That matters because people searching for addiction treatment are often anxious, skeptical, and short on time. They want to know: Is this place real? Will I be safe here? Can I trust the people who answer the phone?
Authentic facility photography helps answer those questions before the first call. It gives your website a sense of place, makes your programs easier to understand, and reduces the uncertainty that can stop someone from reaching out.
This guide gives you a practical shot list for rehab photography, along with recommendations for lighting, privacy, image placement, and avoiding the stock-photo traps that quietly weaken trust.
Table of Contents
- Why authentic photography builds visual trust
- The practical rehab facility photography shot list
- Lighting and composition tips
- Privacy, HIPAA, and 42 CFR Part 2
- How to avoid stock-image traps
- Where to use your photos for better conversion performance
- A simple photography workflow
- Frequently asked questions
Why Authentic Photography Builds Visual Trust
Stock photography is not automatically bad. Sometimes you need a supporting image for a blog post or educational article. But your core website pages should not look like a collection of unrelated stock photos.
Visitors notice the difference.
A staged image of a smiling couple walking through a sunlit field may look polished, but it does not show what your center actually offers. It does not help a parent picture the admissions process, a room, the dining area, or the people providing care.
Real images make your claims more concrete.
If you say your facility offers a peaceful residential environment, show the actual common area. If your program includes outdoor activities, show the walking path or garden. If your team emphasizes clinical expertise and warmth, use consistent portraits of your real staff.
The goal is not to make your center look like a luxury resort. The goal is to make it feel honest, welcoming, and understandable.
So what’s the connection between photography and admissions? When a visitor can visualize your facility, you remove some of the unknowns that create hesitation. That can make the next step, a call, form submission, or insurance verification request, feel more manageable.
For more on reducing friction for families in crisis, see our guide to rehab website UX design and conversion.
The Practical Rehab Facility Photography Shot List
Before the photographer arrives, create a shot list based on the questions prospective clients are likely to ask.
1. Exterior and arrival images
Start with the physical experience of arriving at your center.
Capture:
- The building exterior in daylight
- The main entrance
- The driveway or arrival area
- Parking and accessible entrances
- Landscaping, gardens, or walking paths
- Directional details that help visitors understand where to go
These photos are particularly useful on your homepage, admissions page, and “What to Expect” content. Someone arriving for treatment may already feel overwhelmed. A visual preview can make the first visit feel less intimidating.
Avoid photographing visible license plates, neighboring homes, street addresses, or signage that reveals more location information than you intend to publish.
2. Common areas and living spaces
Photograph the spaces where people spend time between clinical sessions.
Your list may include:
- Lounges
- Dining areas
- Bedrooms
- Kitchens
- Recreation rooms
- Outdoor seating
- Fitness or wellness areas
- Quiet rooms
- Libraries or reading spaces
Photograph each area from several angles, including at least one wide shot and a few detail shots. A wide image establishes the layout. A detail image, such as comfortable seating, natural light, or a thoughtfully arranged dining table, adds warmth.

Before the shoot, remove clutter, outdated furniture, exposed paperwork, and anything that makes the room look unlike the experience a client will actually receive. Do not over-stage the room, though. A space that looks too perfect can feel less believable.
3. Therapy and clinical spaces
Prospective clients want to understand where care happens. That does not mean you need dramatic images of therapy sessions.
Capture:
- Individual therapy rooms
- Group therapy rooms
- Medical or nursing areas, where appropriate
- Intake or admissions spaces
- Consultation rooms
- Telehealth rooms
- Waiting areas
Use empty rooms when possible. Chairs arranged in a circle can communicate group support without showing actual patients. A comfortable chair, a box of tissues, and natural light may tell a more useful story than a staged scene with actors pretending to have an emotional breakthrough.
4. Staff portraits
Your staff page should help visitors recognize the people they may speak with or meet.
Create a consistent portrait set for:
- Medical directors
- Therapists
- Nurses
- Case managers
- Admissions staff
- Executive leadership
- Wellness or support team members
Use similar lighting, framing, and backgrounds for everyone. A plain wall or softly blurred facility background generally works better than a busy brick wall or a dramatic studio backdrop.

Ask team members to wear what they typically wear at work. If your clinical staff wear badges, check that no private information is visible. Names and credentials can be included on the page as text, rather than relying on a badge in the photograph.
5. Program and activity images
If your center offers specific services, photograph the environment that supports those services.
Examples include:
- Yoga or mindfulness areas
- Art or music spaces
- Nutritional programming
- Recreation areas
- Educational workshops
- Family meeting rooms
- Outdoor activities
- Transportation vehicles, if relevant
These images help you move beyond vague phrases such as “whole-person care.” They show what that care looks like in practice.
Lighting and Composition Tips
You do not necessarily need a large production crew. A skilled photographer with a modern camera, or even a careful smartphone workflow, can produce useful images when the fundamentals are right.
Keep these principles in mind:
- Use natural light whenever possible. Open blinds and photograph during the brightest part of the day.
- Turn on practical lights. Lamps and warm overhead lights can make a room feel lived-in, but replace burnt-out bulbs first.
- Avoid harsh direct sunlight. Strong shadows can make rooms and faces look unwelcoming.
- Keep vertical lines straight. Crooked walls and door frames make a facility look poorly maintained, even when it is not.
- Photograph at eye level. Extremely wide or low angles can make ordinary rooms feel distorted.
- Leave negative space. Website designers may need room for text overlays, buttons, or page headings.
- Capture horizontal and vertical versions. A landscape image may work for a website banner, while a portrait crop may be needed for social media.
- Show the real scale of a room. Do not rely only on tight detail shots that make a small space appear much larger.
The best photograph is not always the most artistic one. It is the one that helps a visitor understand your facility accurately.
Privacy, HIPAA, and 42 CFR Part 2
This is where careful planning matters most.
You should not photograph identifiable current patients for marketing materials. In the addiction treatment field, privacy protections can apply broadly to information that identifies someone as receiving substance use disorder care.
The Substance Abuse and Mental Health Services Administration’s guidance on confidentiality and the federal 42 CFR Part 2 regulations are important references for your compliance team. The HHS fact sheet on the Part 2 final rule provides additional context.
Before publishing any image, check for:
- Identifiable patients or visitors
- Faces reflected in mirrors or windows
- Name tags and badges
- Whiteboards, schedules, charts, or computer screens
- Medication labels
- Vehicle license plates
- Personal belongings with names
- Distinctive details that could identify a person as a patient
If you plan to use a former patient’s image or testimonial, obtain specific, voluntary written authorization that explains where the image will appear and how it will be used. Marketing consent should never be tied to receiving treatment. Have your privacy officer or legal counsel review the process and authorization language.
When in doubt, use staff, professional models, or empty spaces.

How to Avoid Stock-Image Traps
Watch for images that create the wrong impression:
- Models with exaggerated, permanently cheerful expressions
- Photos that imply a guaranteed recovery outcome
- Wealth-focused “luxury resort” imagery that does not match your center
- Anonymous hands, pills, liquor bottles, or dramatic shadows
- Images that reinforce stigma or portray addiction as a moral failure
- Groups that appear staged or culturally disconnected from your audience
- Photos showing treatment scenarios your facility does not provide
A stock image can also create operational confusion. If the website shows a pool, private rooms, or a chef-prepared dining experience that your center does not offer, the admissions team may spend valuable time correcting expectations.
Ethical marketing is not only a compliance issue. It is a trust and retention issue. The National Association of Addiction Treatment Providers emphasizes ethical standards that are especially relevant when communicating with vulnerable people and their families.
If you use stock photography, keep it secondary. Use it for broad educational concepts, not for your building, staff, programs, or patient experience.
Where to Use Your Photos for Better Conversion Performance
Photography should support a page’s purpose, not simply fill empty space.
| Website Area | Strong Image Choice | Performance Impact |
|---|---|---|
| Homepage hero | Exterior, entrance, or welcoming common area | Establishes place and credibility quickly |
| Admissions page | Entrance, intake room, bedroom, and staff member | Reduces fear about what happens next |
| Program pages | Therapy rooms and relevant activity spaces | Makes services easier to understand |
| About page | Consistent staff portraits and facility details | Humanizes your organization |
| Contact page | Entrance or approachable admissions team member | Reinforces that help is available |
| Local SEO pages | Real exterior and community-relevant images | Supports location clarity and authenticity |
But this still doesn’t drill down into the technical side. Large, uncompressed images can slow mobile pages, especially for someone searching over a cellular connection.
Your web team should:
- Resize images to the dimensions actually needed
- Use modern file formats such as WebP when supported
- Add descriptive alt text
- Keep filenames meaningful
- Avoid placing text inside the image itself
- Test page speed after uploading new photography
For location-focused visibility, pair authentic imagery with a clear local SEO strategy for treatment centers. Photography supports trust, but it does not replace accurate business information, useful page content, or technical optimization.
A Simple Photography Workflow
A manageable process looks like this:
- Audit your current website. Identify pages with outdated, repetitive, or generic images.
- Build the shot list. Organize it by exterior, interiors, staff, programs, and details.
- Complete a privacy walk-through. Remove PHI and identify areas that should not be photographed.
- Schedule around natural activity. Photograph real spaces as they are normally used, without disrupting care.
- Capture multiple formats. Request both landscape and portrait images.
- Create a usage library. Label images by location, program, staff member, orientation, and date.
- Review every image before publication. Confirm accuracy, privacy, consent, and brand fit.
- Update regularly. Refresh images when your facility, staff, services, or environment changes.
Need a second set of eyes on how your facility is presented online? Ads Up Marketing works exclusively with addiction treatment centers and behavioral health facilities. We can review your website’s visual trust, conversion paths, SEO, and campaign performance together, not in isolated silos.
Call 305-539-7114 or request a confidential marketing analysis.
Frequently Asked Questions
Should a rehab center use real patient photos?
Generally, you should avoid identifiable images of current patients in marketing. If you use a former patient’s image, obtain specific written consent and have your privacy and compliance process reviewed by qualified counsel.
How many photos should a treatment center website have?
There is no universal number. Start with enough images to represent your exterior, common areas, clinical spaces, staff, and major programs accurately. Quality, relevance, and privacy matter more than filling every page with photographs.
Can stock photos be used on a rehab website?
Yes, but use them selectively. Stock images are best for supporting educational content. Your homepage, staff page, admissions page, and facility pages should prioritize authentic images of your actual environment and team.
What is the best lighting for rehab facility photography?
Natural daylight with balanced interior lighting usually produces the most welcoming result. Avoid harsh shadows, dark corners, excessive filters, and color treatments that make the facility look different from reality.
How can photography improve rehab website conversions?
Authentic images can reduce uncertainty, demonstrate your environment, humanize your team, and support clearer calls to action. Track performance by comparing engagement, scroll depth, form submissions, calls, and qualified admissions before and after a visual update.
What should a photographer avoid capturing?
Avoid identifiable patients, reflections, paperwork, computer screens, whiteboards, name tags, license plates, and any detail that could reveal protected information or create a misleading impression of your services.
Your facility photography should make the next step feel clearer: not pressure someone into it. Show the real environment, protect every person’s privacy, and make sure the visual experience matches the care you actually provide.
When you are ready to turn that trust into a stronger admissions path, call Ads Up Marketing at 305-539-7114. We will help you find what is getting in the way and build a practical plan from there.